However in this tutorial I will show 4 ways to create swirls, and by mixing them you will learn some very powerful techniques that will allow you to easily make tons of different styles of swirls and crazy sperm vectors.
Now create an ellipse using the Ellipse Tool (L).
After you create the arc go to Object>Path>Outline Stroke. The stroke will be converted to a shape, the select the Direct Selection Tool(A).
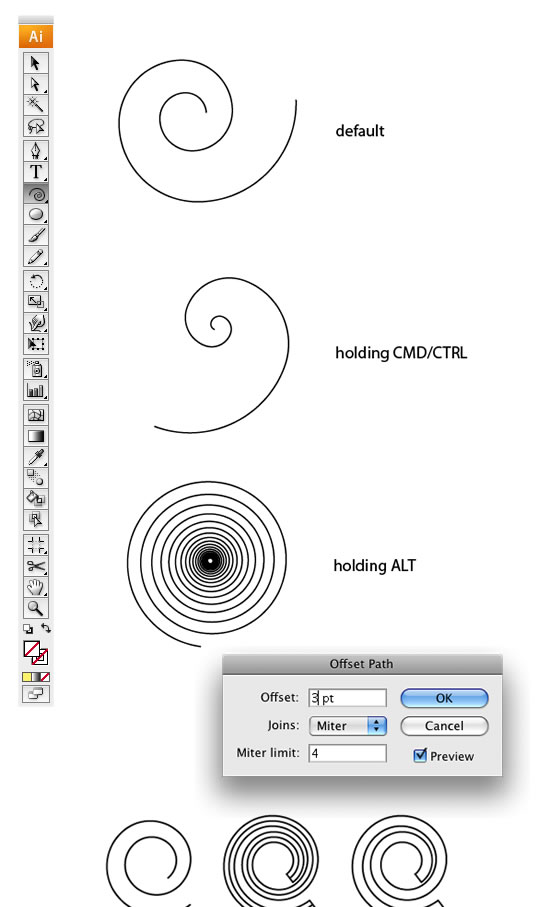
You can go to Object>Path>Offset Path and specify the offset to 3pt, you will create a uniform spiral. But if you want to make the start point smaller than the end or vice-versa, you can use the spiral as spine for a Blend.


Here in our swirl we will create a highlight area and a dark area. Repeat the process to the other swirls.
After that create a spiral exactly like the one you want to add the stripes, and apply the brush.


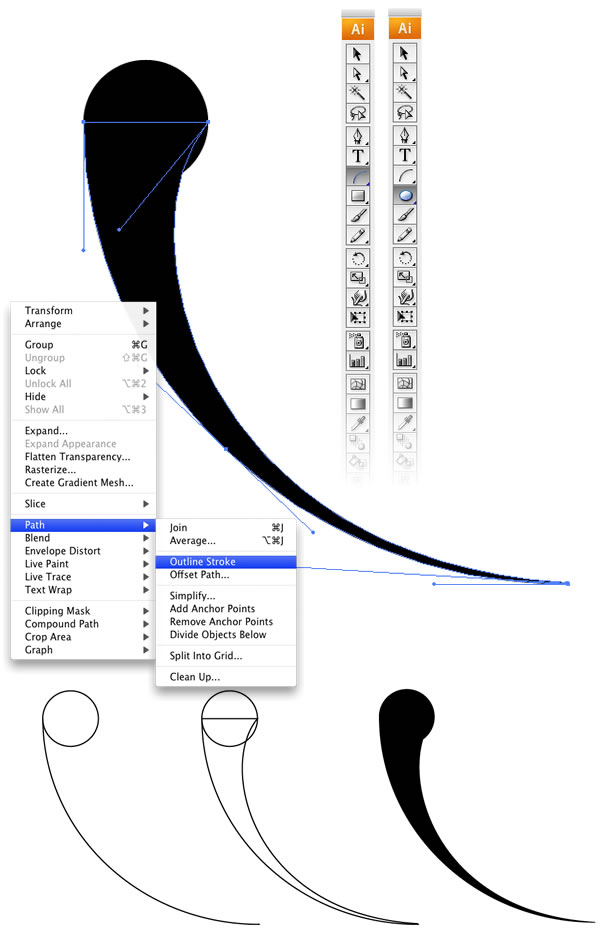
1st Way - Arc, Circle, and Path tool
Select the Arc Tool and create an arc. You can change the arc's properties by holding the mouse button and pressing the UP and DOWN keys for the angle of the arc, SPACE to move it, and ALT to change the center point.Now create an ellipse using the Ellipse Tool (L).
After you create the arc go to Object>Path>Outline Stroke. The stroke will be converted to a shape, the select the Direct Selection Tool(A).
2nd Way - Blend Tool(W)
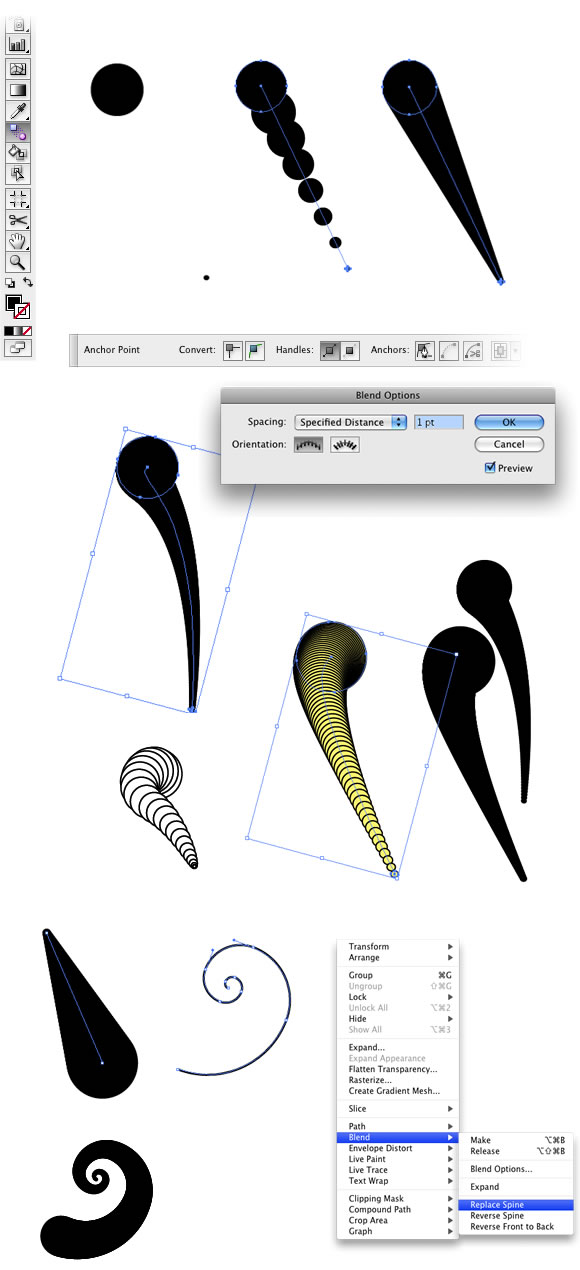
Create 2 circles, one will be the start and the other the end points of our swirl. Then select the Blend Tool (W) and click on the small circle and after that on the big circle. Double-click the Blend Tool icon to open the Blend Options, there you will be able to change the spacing of the elements and the orientation. Select Specified Distance and use 1pt, for the Orientation use Align to Path.The spine is the path along which the steps in a blended object are aligned. By default, the spine forms a straight line.You can test different styles for the blend, like adding a dark stroke with some light color.
- To adjust the shape of the spine, drag the anchor points and path segments on the spine with the Direct Selection tool.
- To replace the spine with a different path, draw an object to use as the new spine. Select the spine object and the blended object, and choose Object > Blend > Replace Spine.
- To reverse the order of a blend on its spine, select the blended object and choose Object > Blend > Reverse Spine.
3rd Way - Spiral Tool
Select the Spiral Tool and create a spiral, you can change the style of the spiral by holding the mouse button and some keys like CMD/CTRL, ALT, SPACE, UP, and Down.You can go to Object>Path>Offset Path and specify the offset to 3pt, you will create a uniform spiral. But if you want to make the start point smaller than the end or vice-versa, you can use the spiral as spine for a Blend.
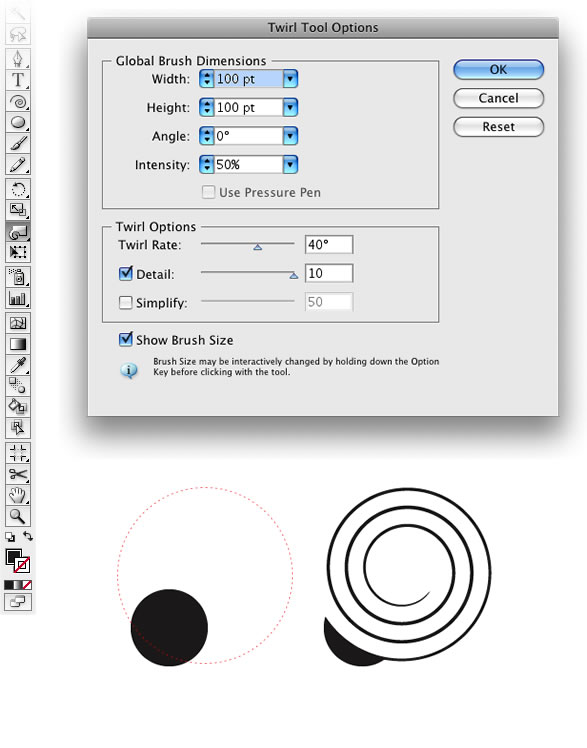
4th Way - Twirl Tool
Create an ellipse with the Ellipse Tool, after that select the Twirl Tool and double click on the icon to open the Twirl Tool Options. Deselect the Simplify option and use 10 for detail. Then go with the center of the twirl tool over the edge of the circle and press and hold the mouse button to create a spiral.Mixing Techniques
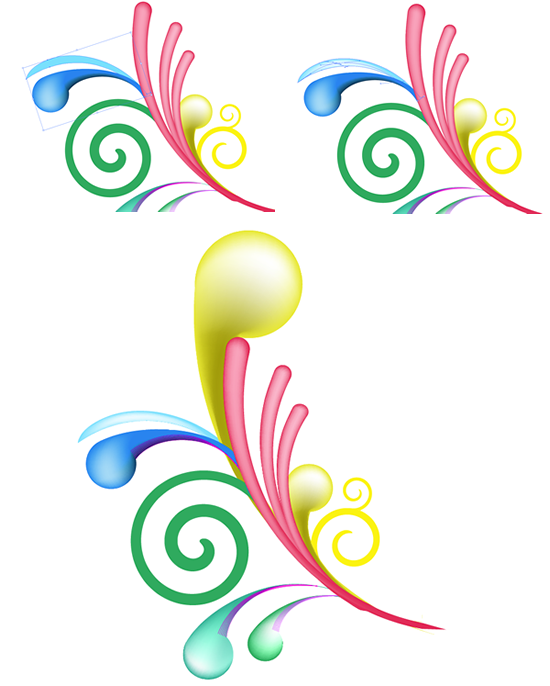
Step 1
Create the first swirl using the first technique. Use a very long line with a circle at the end. Step 2
Duplicate the swirls and resize it, repeat that to create another one, so you will have 3 swirls.Step 3
Create a spiral applying the 3rd or 4th technique, actually you can do that with blends too.Step 4
Create another swirl this time make the circle or much bigger.Step 5
Duplicate the new swirl, resize and make it a bit smaller than the other like the image below.Step 6
Duplicate again the swirl, now go to Object>Transform>Reflect. Change the color to yellow.Step 7
Create a new spiral like the image below, then duplicate it again resize it like and place it above the other spiral.Step 8
Keep adding swirls.Step 9
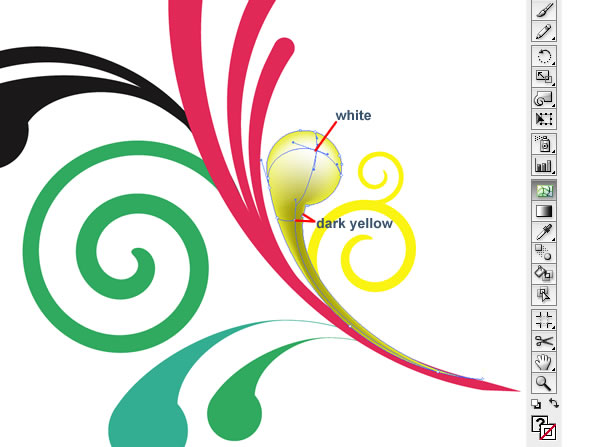
Now we will add some 3D effects using the Mesh Tool (U). This tool allows us to apply multiple gradients to one object. Just select the object then with the Mesh Tool click where you want to add a new color.Here in our swirl we will create a highlight area and a dark area. Repeat the process to the other swirls.
Step 10
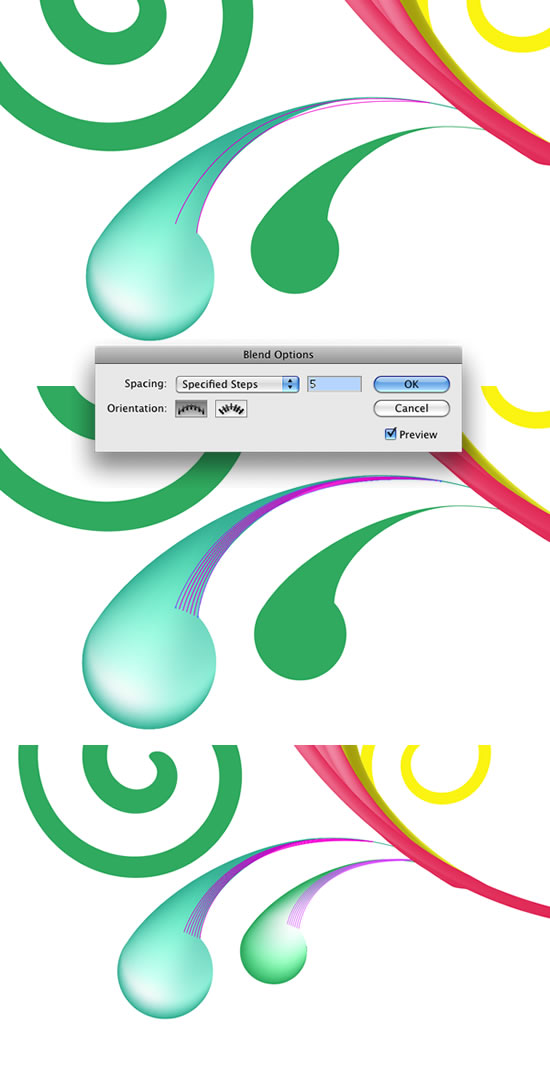
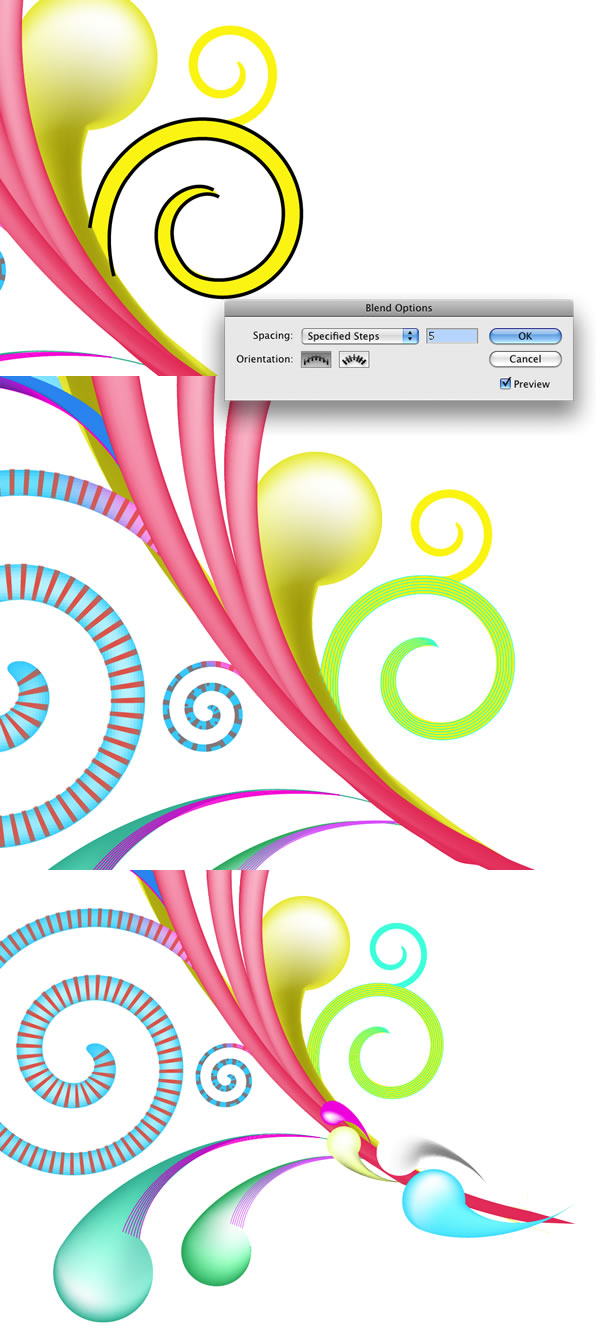
With the Pen Tool create two lines following the shape of the tail of our "sperm" shape, then apply the Blend Tool with 5 Specified Steps. After that duplicate and resize the blend and use it on the other swirlStep 11
Add more shapes and apply the Mesh Tool. Duplicate the yellow swirl and make it really bigger like the image below.Step 12
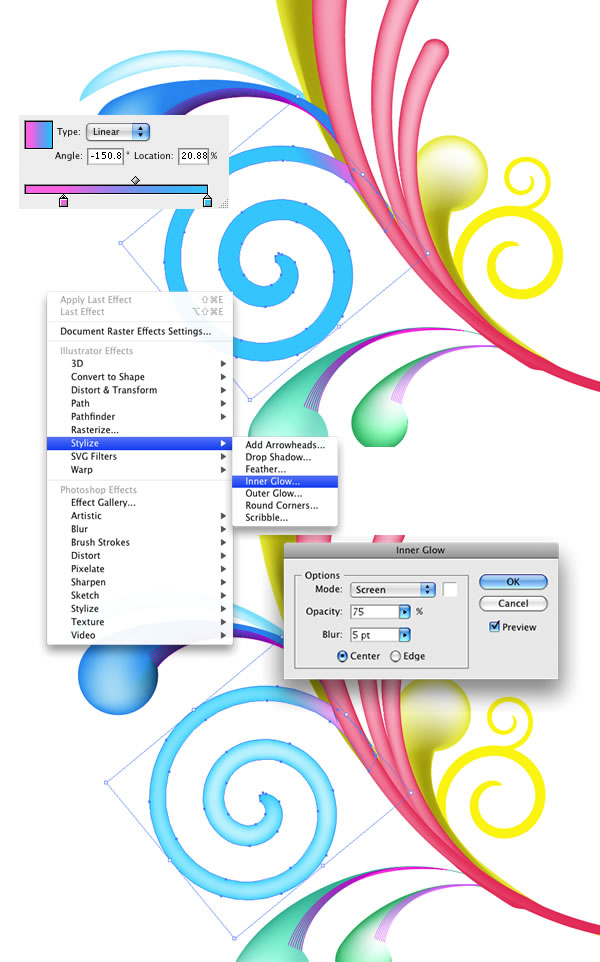
For the spiral add a gradient from pink to cyan, then go to Effect>Stylize>Inner Glow... Use Screen for the Mode, 75% Opacity, 5pt Blur and Center.Step 13
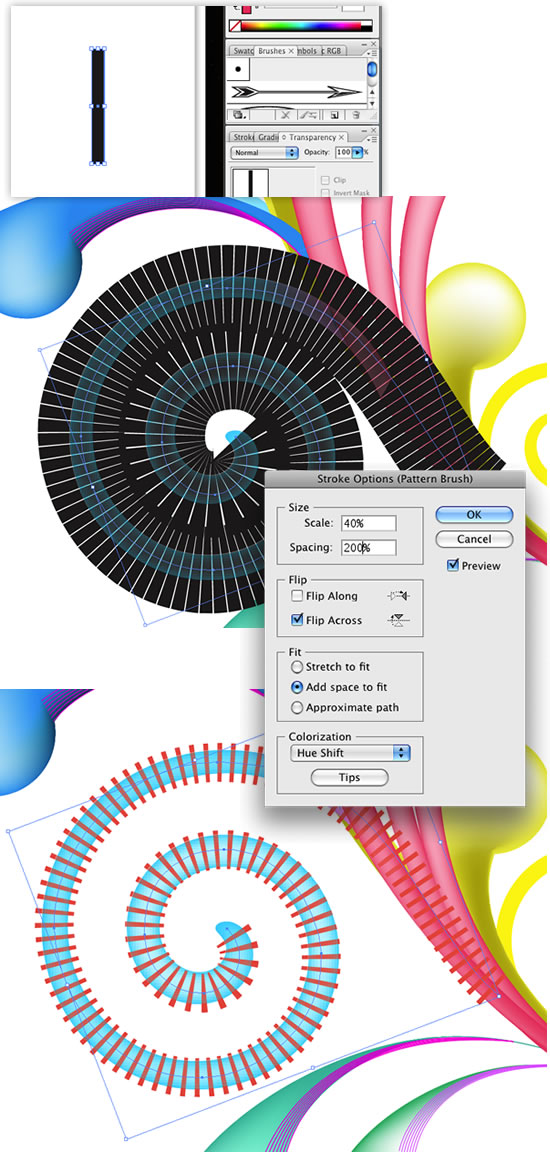
For those stripes following the spiral we will create a brush. To do that is really simple in Illustrator. Just create a rectangle and drag and drop it in the Brushes Palette, then in this case select New Pattern Brush. Use the image below for reference.After that create a spiral exactly like the one you want to add the stripes, and apply the brush.
Step 14
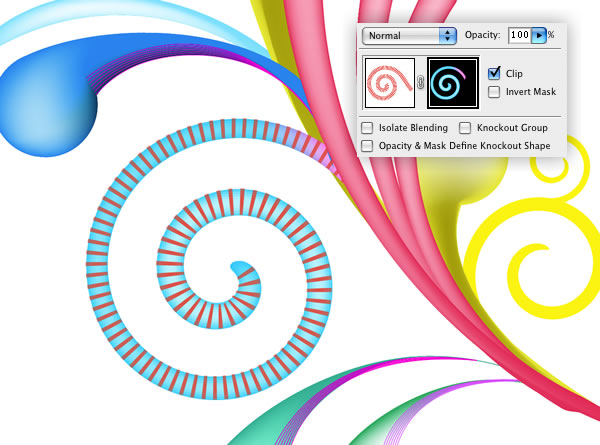
Select the spiral without the Brush Stroke and copy it. Then select the spiral with the stroke and go to the Transparency Palette (Window>Transparency). Double click the area next to the thumbnail, it will create a new thumb all black, select this thumb and paste the spiral. It will create a mask, just move the mast to align it with the original spiral. It looks complicated but it's easier than the explanation ;)Step 15
Use the blend tool to add more elements and details to some shapes.Step 16
Create more swirls using the techniques we've seen before and just change the sizes and colors. After that group all swirls.End result in Illustrator.
Step 17 (Photoshop)
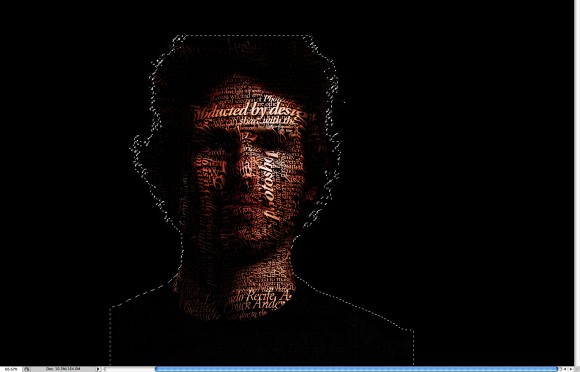
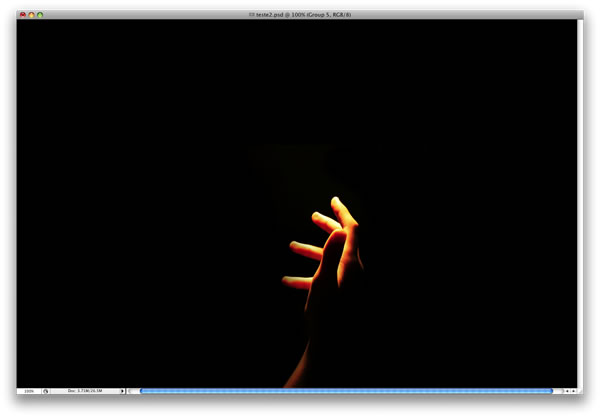
Create a new document and place your image, I used a photo from http://sxc.hu and 1440x900px for the document size.Step 18
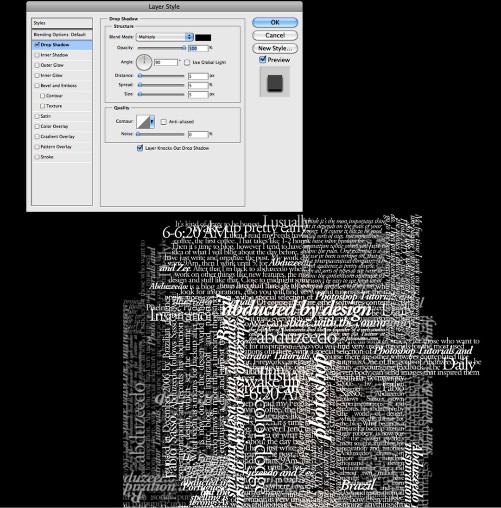
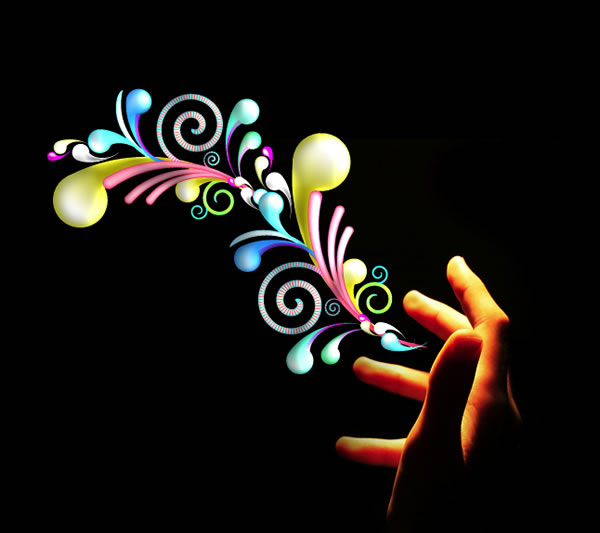
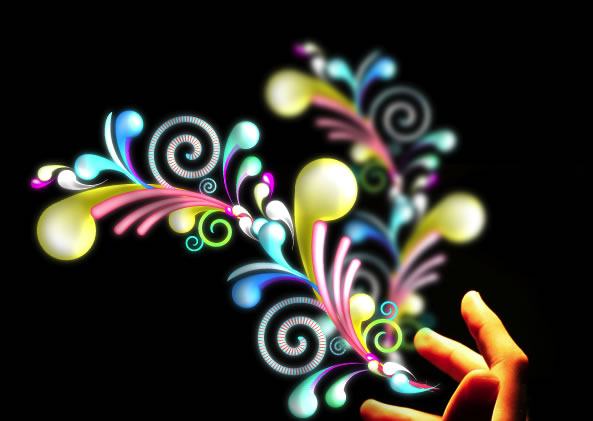
Copy the swirls in illustrator, the group with all swirls we have created, and paste it in Photoshop. Select Paste As Smart Objects. After that go to Layer>Layer Style>Bevel and Emboss, use the image below for reference.Step 19
Duplicate the layer and go to Edit>Transform>Flip Vertical, and reduce the size of the layer and move it like the image below. After that select the 2 layers and convert them to Smart Objects and rename it to "Swirls"Step 20
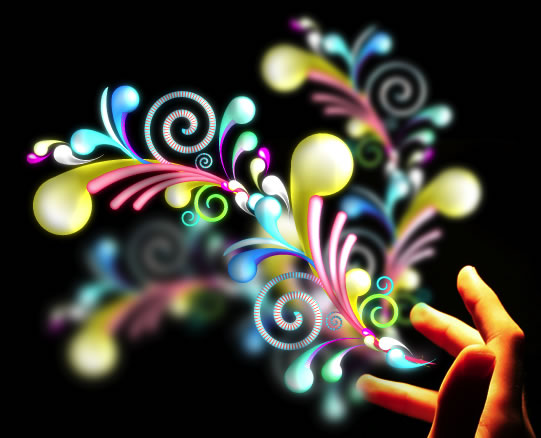
Duplicate the new "Swirls" and rename it to "Swirls Glow", then go to Filter>Blur>Gaussian Blur, use 3px for the Amount, place it behind the "Swirls" and change the Blend Mode to Hard LightStep 21
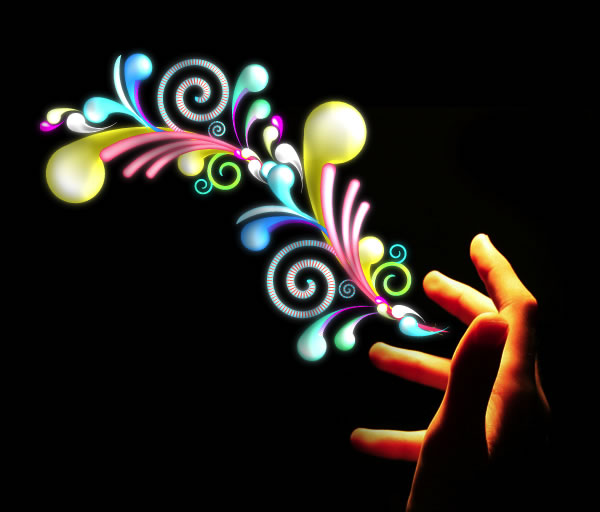
Duplicate the "Swirls" layer again and go to Edit>Transform>Flip Horizontal, again reduce its size and move it like the image below. Then go to Filter>Blur>Gaussian Blur, use 3px for the amount again, but don't change the blend mode.Step 22
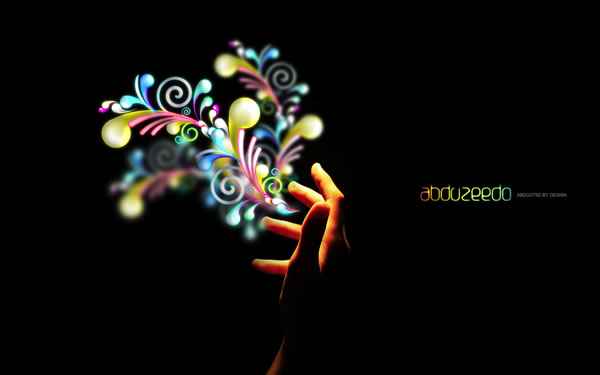
Duplicate the "Swirls" layer one more time and this time just rotate it like the image below. Then go again to Filter>Blur>Gaussian Blur, however this time use 5.5px for the Amount and reduce the opacity to 70%Conclusion
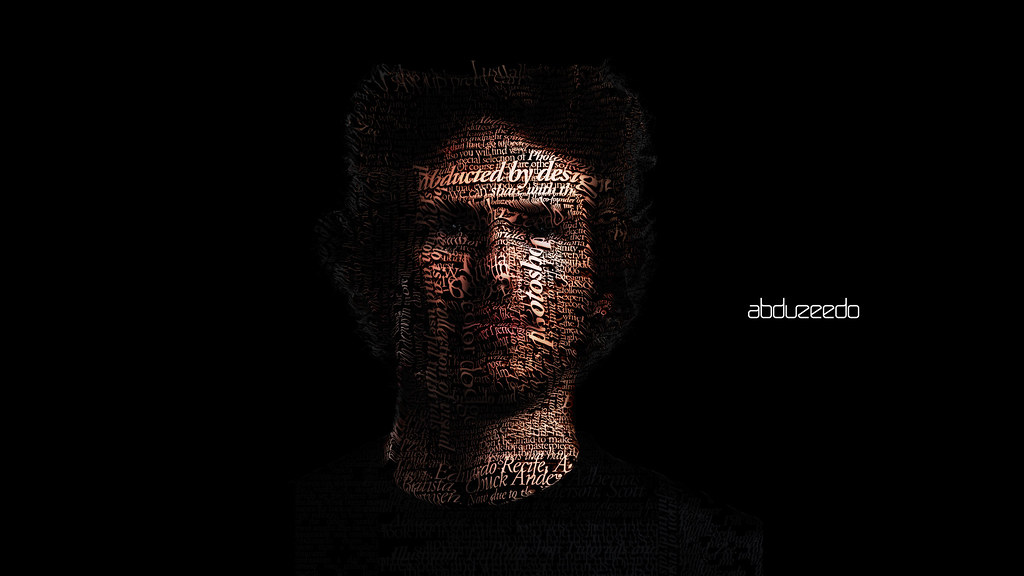
Just place your logo and that's it. You can add more elements, you can even copy and paste each element separately and apply different layer styles to each swirl. There are many options and tons of different results from these methods, now it's all about trying different combinations.