Well what I want to show here is how to create a nice light and magic effect.
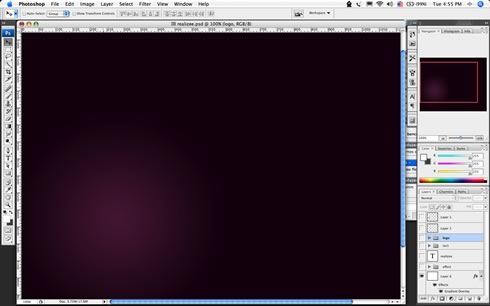 |
| 1 - Create a radial gradient, in this case from a purple to a really dark purple |
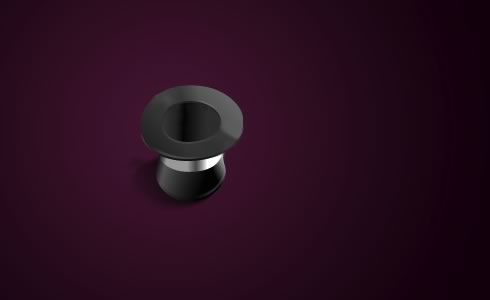 |
| 2 - Here I added a really cool Icon of a magic hat from the Crystal Clear Collection by Everaldo |
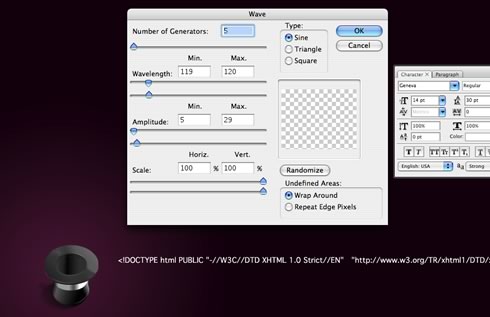 |
| 3 - Add some text, I used the source code of a site to get the text and apply the Distort >Wave filter |
Create two stripes of text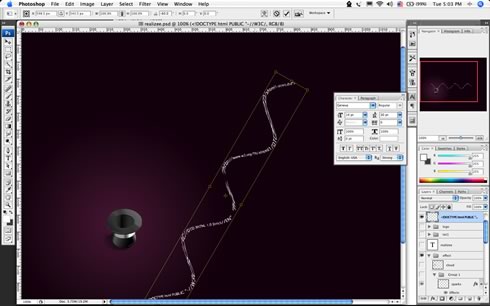 |
| 4 - Rotate and place the text |
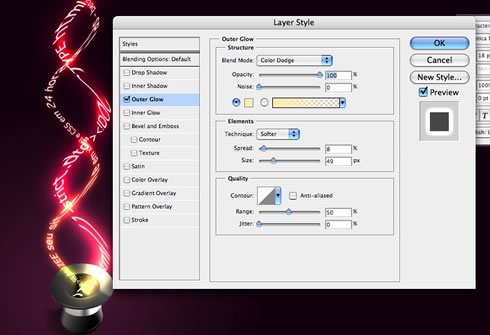 |
| 5 - Add some light using glow : Use different values for each line of text, the secret here is the blending option COLOR DODGE.. |
Change the values of Spread, Size and Range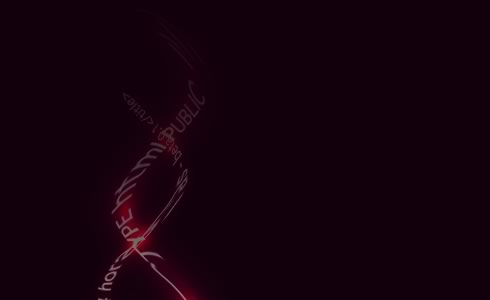 |
| 6 - Group the 2 lines of texts and with one apply a mask to make the stripes disappear at their ends. |
 |
| 7 - With the other group of text apply a gaussian blur, after that delete some parts to show the non-blury text. |
This will add a movement feel to the text, like they are really being magically created.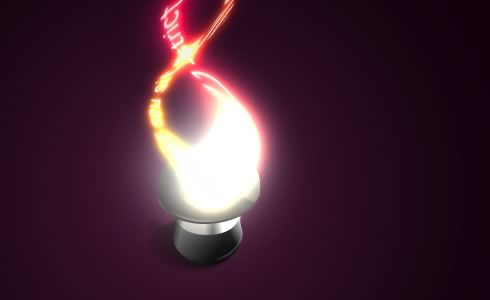 |
| 8 - Create a new layer below the text and with a regular big brush like 100px add a spot of light in white. |
The layer must be below the text, otherwise the glow will not affect the white spot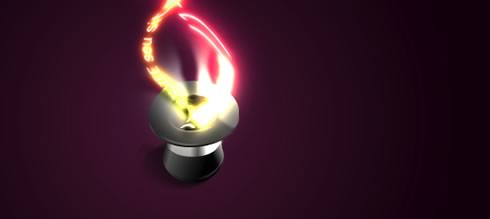 |
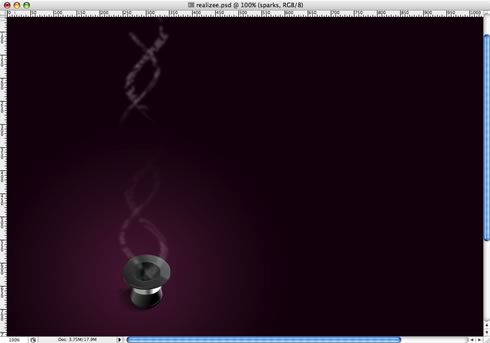
| 9 - Make some smoke again, I used the eraser, I could've used the liquify as well |
 |
| 10 - Create a cloud: to do that make use a marquee with feather set to a value bigger than 20 and apply the render>clouds holding the command key(mac), ctrl key(win). |
The same as the previous post, and the most important thing apply the COLOR DODGE blending options on it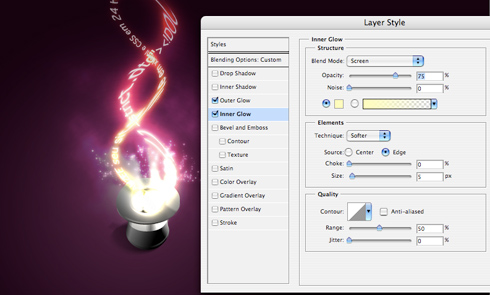 |
| 11 - Sparks: For the sparks create a brush, play with the shape dynamics, scattering, and other dynamics. After that, apply a Outer Glow and Inner Glow to create the magic effect. |
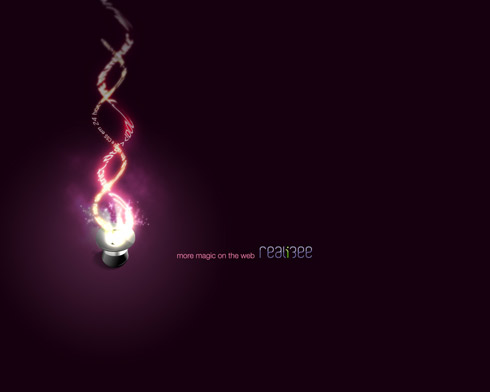
- The result is really simple but at the same time it looks beautiful.
The whole process took me about 35 minutes, one thing I think is really cool is to apply the color dodge blending option to folder, and put blurred elements inside of it. Using it you can create some really amazing light effects.




No comments:
Post a Comment