Thursday, May 19, 2011

Graffiti with --- Photoshop


Step 1 

Find yourself a nice photo of a wall to put your logo on (i found this image on the internet with Google Images). Every image is suitable if there is a suitable structure (no smooth walls!).
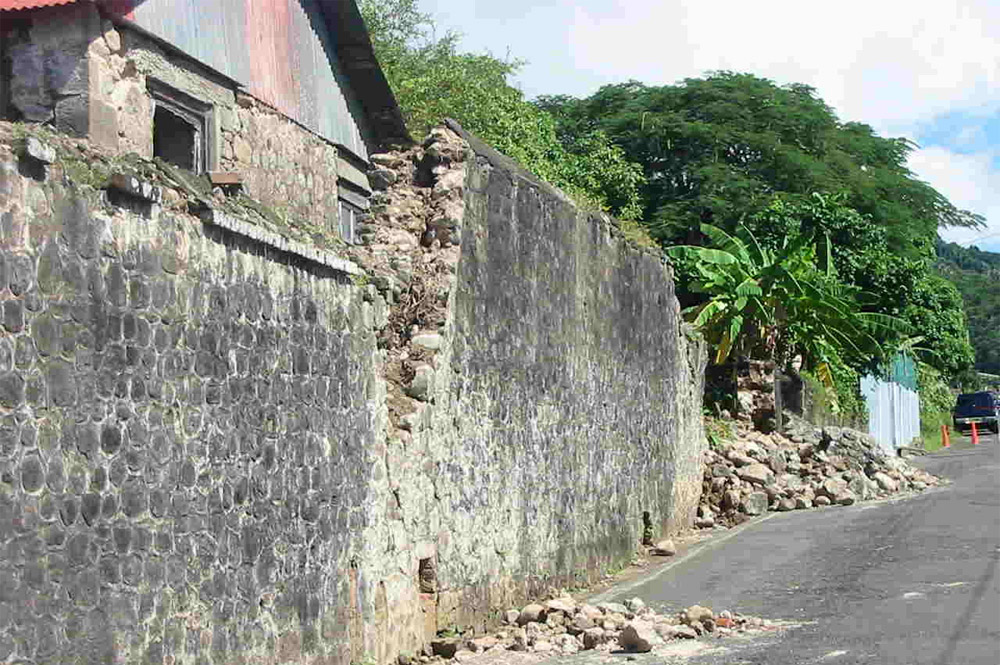
http://img.dreamdealer.nl/dd/graffiti/stap1.jpg

Step 2
Place the logo you want to use in a new layer. The logo has to be a pixel-based image (no fonts, paths and shapes) because in the next step we will apply a "perspective transfer" wich requires the layer to be pixel-based.
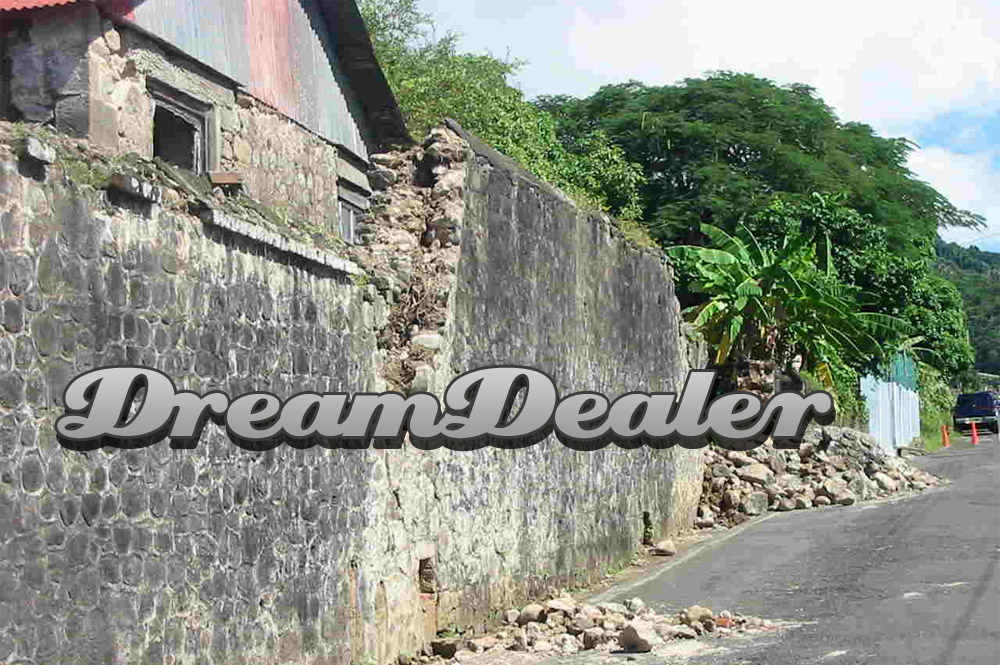
http://img.dreamdealer.nl/dd/graffiti/stap2.jpg

Step 3
Select "perspective transform" in the edit-menu en change the aspects of the logo that it fits the perspective of the wall. When you mak a "perspective transform" the selection you're transforming gets a bounbing box. You can use the lines of this bounding box to align the logo with the wall.

http://img.dreamdealer.nl/dd/graffiti/stap3.jpg

Step 4
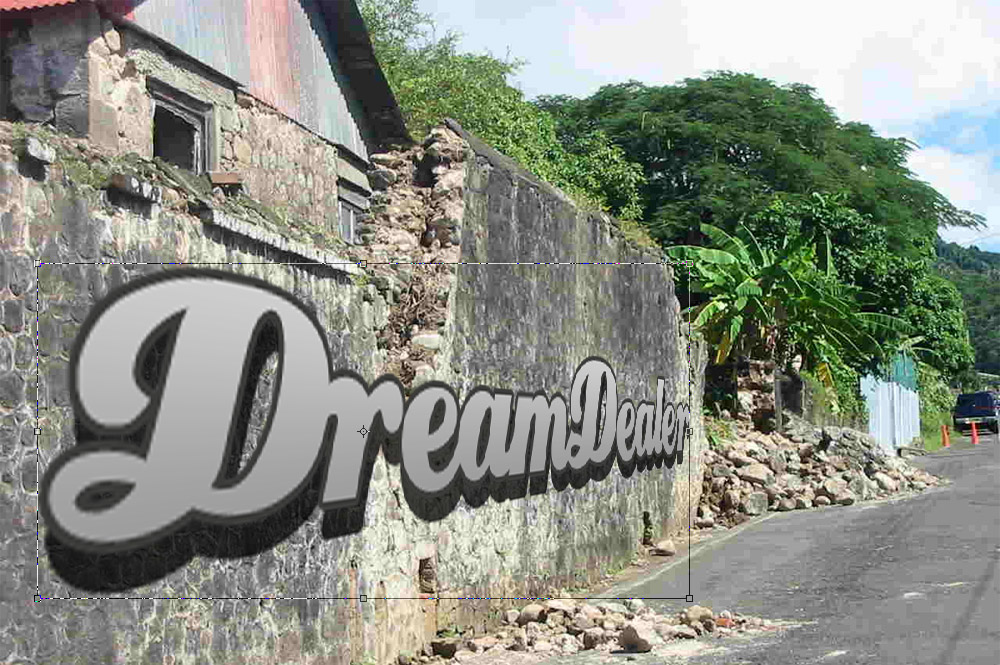
The logo was just a bit to wide, but thats no problem. You can adjust this with the normal transform tool (CTRL+T). Make it a bit smaller so it will fit nicely in the wall. If the perspective of the logo doesn't look realistic, redo the previous steps, because the realism of this is the most important.
http://img.dreamdealer.nl/dd/graffiti/stap4.jpg

Step 5
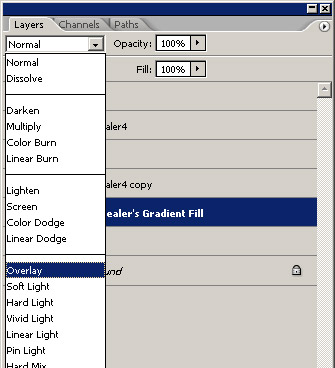
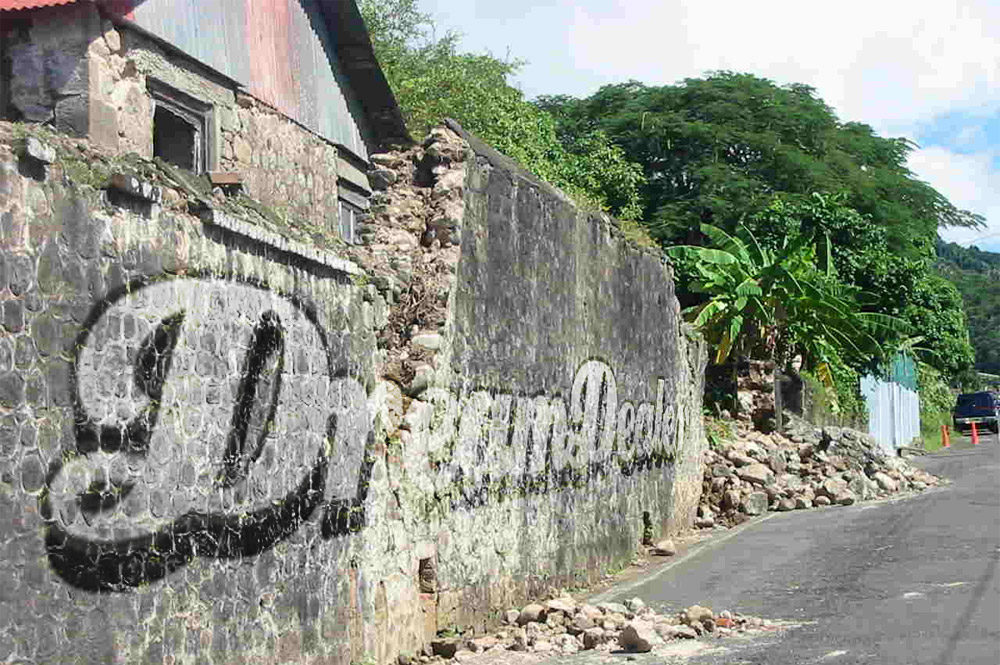
After this, put the blending mode of the logo layer to "overlay":

The result:
http://img.dreamdealer.nl/dd/graffiti/stap6.jpg

Step 6
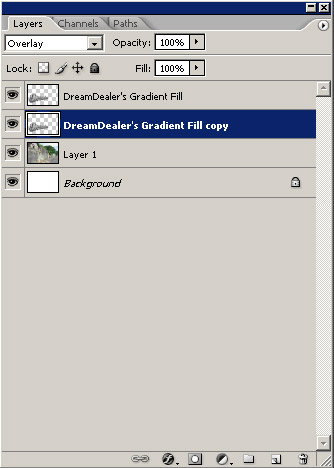
The logo still has sharp edges and looks more like a sticker than a graffiti drawing. To make this a bit more realistic we are going to blur the edges a bit. To blur only the edges, but not the logo, you'll have to make a copy of the layer and place it under te original logo.

Step 7
The, blur the copied layer with a "Gaussian Blur" with a value of 5,0 pixels. The gaussian blur is found in the filter-menu.
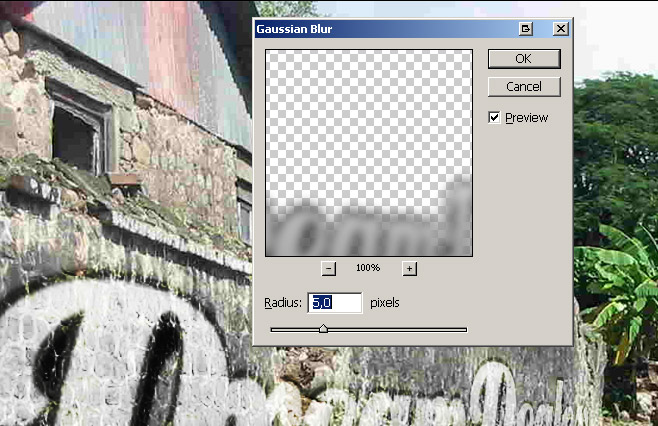
http://img.dreamdealer.nl/dd/graffiti/stap8.jpg

Step 8
At last, to improve the realism, use the eraser tool to erase the logo where the wall is worn down.
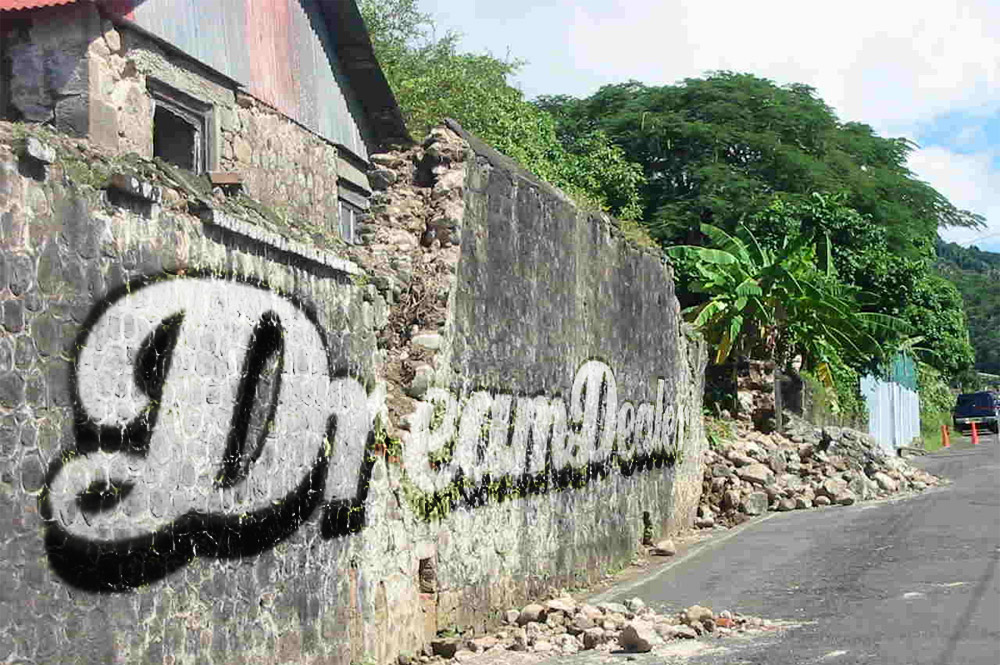
http://img.dreamdealer.nl/dd/graffiti/stap9.jpg

Verfijnen
If you like the vague version of step 5 more, but with the blurred edges, you can select the blurred layer and click (while holding CTRL) on the thumbnail of the original logo layer. This way you'll select the outlines of the original layer. If you've done this, press DELETE to delete the selected part from the blurred layer.

To make it all even more realistic, you can place another graffiti (a more worn down one) on the wall of erase more from the logo to make it look more worn down.

Friday, May 6, 2011

Astonishing Hotel---above the Santorini Volcano, Greece


Who looks quickly think this hotel is only one more of those luxurious hotels around the world and with a beautiful view. But he is much more than that, perhaps because it is located above the famous caldera of Santorini Volcano, at Greece. That's right, a hotel over a volcano!


Majestic Hotel Overlooking
Photo by: Erieta Attali, Serge Detalle
Majestic Hotel Overlooking
Photo by: Erieta Attali, Serge Detalle
Majestic Hotel Overlooking
Photo by: Erieta Attali, Serge Detalle
Majestic Hotel Overlooking
Photo by: Erieta Attali, Serge Detalle
Majestic Hotel Overlooking
Photo by: Erieta Attali, Serge Detalle
Majestic Hotel Overlooking
Photo by: Erieta Attali, Serge Detalle
Majestic Hotel Overlooking
Photo by: Erieta Attali, Serge Detalle
Majestic Hotel Overlooking
Photo by: Erieta Attali, Serge Detalle
To ensure privacy, fragments of volcanic rock are positioned in the windows of four rooms, interspersed with apertures that provide glimpses to the sea. The feature echoes a local architectural technique, more commonly used for retaining walls, in which minimal amounts of mortar are used, leaving gaps between the stonework.
Majestic Hotel Overlooking
Photo by: Erieta Attali, Serge Detalle
Majestic Hotel Overlooking
Photo by: Erieta Attali, Serge Detalle
Majestic Hotel Overlooking
Photo by: Erieta Attali, Serge Detalle
Majestic Hotel Overlooking
Photo by: Erieta Attali, Serge Detalle
Majestic Hotel Overlooking
Photo by: Erieta Attali, Serge Detalle
Majestic Hotel Overlooking
Photo by: Erieta Attali, Serge Detalle
Majestic Hotel Overlooking
Photo by: Erieta Attali, Serge Detalle
Majestic Hotel Overlooking
Photo by: Erieta Attali, Serge Detalle
Majestic Hotel Overlooking
Photo by: Erieta Attali, Serge Detalle

Friday, April 29, 2011

Superb Rule-of-Thirds---Photography


You might not know it, but if you're into photography, you might have noticed how better it looks than not following this rule in some cases. It's the Rule of Thirds, a simple rule to be followed so that your subject is placed within a certain area of an imaginary grid, which splits your picture in 9 equal areas.


Superb Rule-of-Thirds Photography

kukkurovaca


Superb Rule-of-Thirds Photography

Melissa.Photography.


Superb Rule-of-Thirds Photography

Allard Schager


Superb Rule-of-Thirds Photography

Arjun Purkayastha


Superb Rule-of-Thirds Photography

Andy Farrer


Superb Rule-of-Thirds Photography

Rob Overcash


Superb Rule-of-Thirds Photography

Arjun Purkayastha


Superb Rule-of-Thirds Photography

Jason


Superb Rule-of-Thirds Photography

Jim and Becca Wicks


Superb Rule-of-Thirds Photography

Andreas Wecker


Superb Rule-of-Thirds Photography

Mark Whitaker


Superb Rule-of-Thirds Photography

Stephen Chase


Superb Rule-of-Thirds Photography

Doug Chinnery


Superb Rule-of-Thirds Photography

Peter Allen


Superb Rule-of-Thirds Photography

Steven Hammerli


Superb Rule-of-Thirds Photography

Jeff Engelhardt


Superb Rule-of-Thirds Photography

Gary Novak


Superb Rule-of-Thirds Photography

Paola Sunny


Superb Rule-of-Thirds Photography

Zhenya Semikhodski


Superb Rule-of-Thirds Photography

Magic lighting effect in---Photoshop


Since my last article on how to create smoke generated lots of traffic, I decided to write another one on some of the photoshop effects. Although I use Photoshop on a daily basis, I am by no means a photoshop expert.


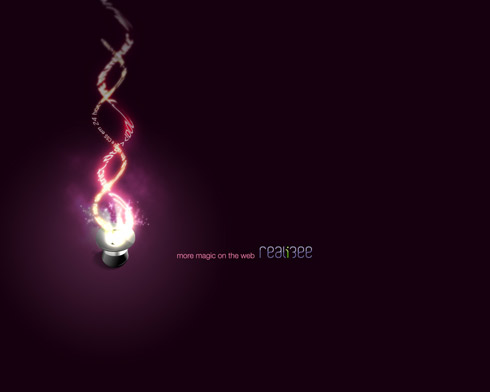
Well what I want to show here is how to create a nice light and magic effect.

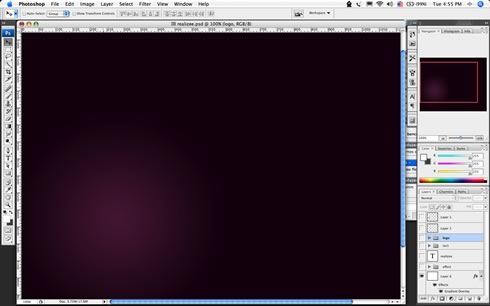
1 - Create a radial gradient, in this case from a purple to a really dark purple

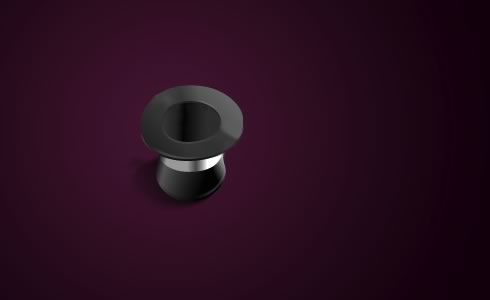
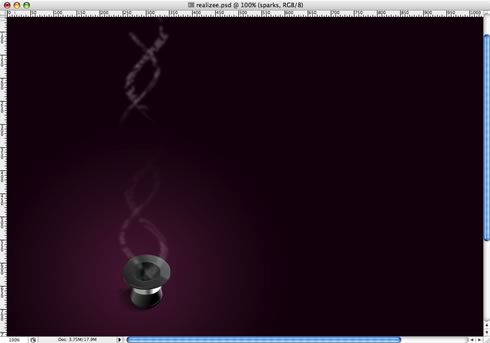
2 - Here I added a really cool Icon of a magic hat from the Crystal Clear Collection by Everaldo

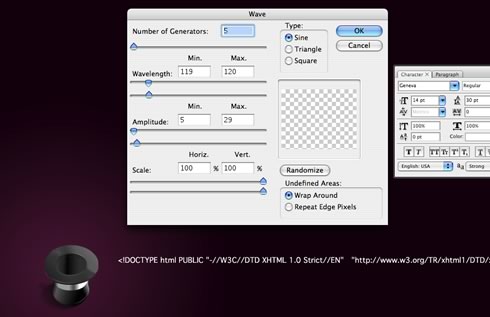
3 - Add some text, I used the source code of a site to get the text and apply the Distort >Wave filter

Create two stripes of text

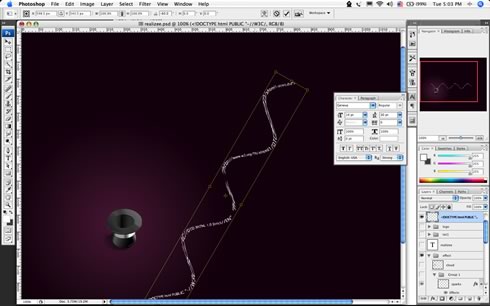
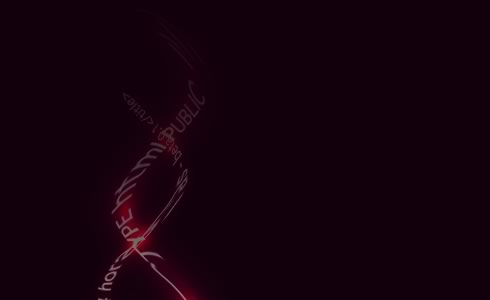
4 - Rotate and place the text

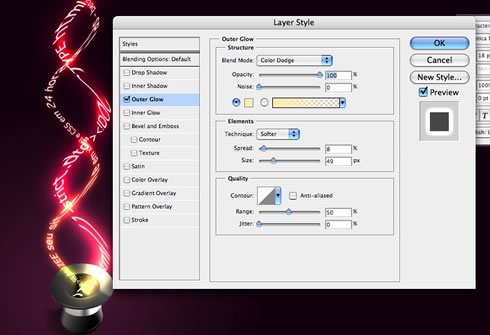
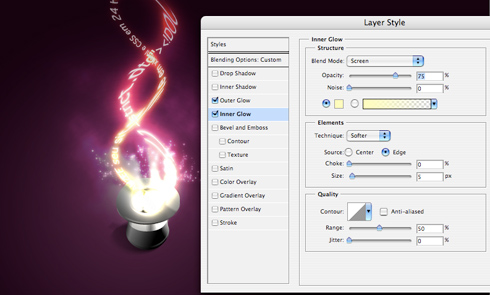
5 - Add some light using glow : Use different values for each line of text, the secret here is the blending option COLOR DODGE..

Change the values of Spread, Size and Range

6 - Group the 2 lines of texts and with one apply a mask to make the stripes disappear at their ends.

7 - With the other group of text apply a gaussian blur, after that delete some parts to show the non-blury text.

This will add a movement feel to the text, like they are really being magically created.

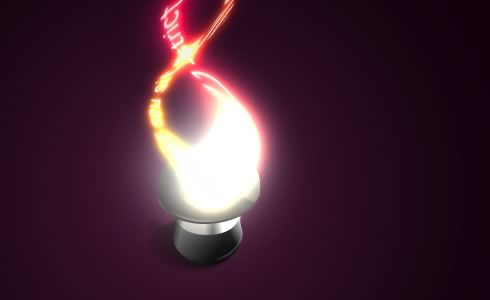
8 - Create a new layer below the text and with a regular big brush like 100px add a spot of light in white.

The layer must be below the text, otherwise the glow will not affect the white spot

9 - Make some smoke again, I used the eraser, I could've used the liquify as well

10 - Create a cloud: to do that make use a marquee with feather set to a value bigger than 20 and apply the render>clouds holding the command key(mac), ctrl key(win).

The same as the previous post, and the most important thing apply the COLOR DODGE blending options on it

11 - Sparks: For the sparks create a brush, play with the shape dynamics, scattering, and other dynamics. After that, apply a Outer Glow and Inner Glow to create the magic effect.
End - The result is really simple but at the same time it looks beautiful.
The whole process took me about 35 minutes, one thing I think is really cool is to apply the color dodge blending option to folder, and put blurred elements inside of it. Using it you can create some really amazing light effects.